Hi, I'm Iljitsch van Beijnum.
These are my posts related programming and web development.
►
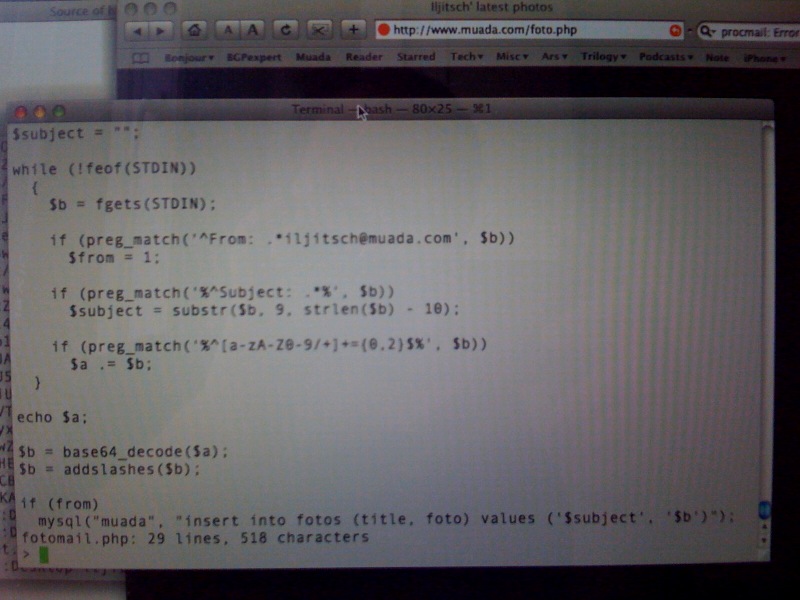
When I got my first iPhone back in 2008, I hacked together a quick script that let me post photos from my iPhone to my website. However, iPhone photos are now 3 MB or larger, which is a bit much. So in practice I would edit the photos on my computer before posting them. But that gets old, so time for some automation.

The first photo I uploaded directly from my iPhone 3G, showing part of the script
Actually resizing images is easy enough in PHP using the imagecopyresampled() function. However, using the provided example script the result was that a photo that I took with my iPhone showed up rotated...
Full article / permalink - posted 2021-11-28
▼
When I got my first iPhone back in 2008, I hacked together a quick script that let me post photos from my iPhone to my website. However, iPhone photos are now 3 MB or larger, which is a bit much. So in practice I would edit the photos on my computer before posting them. But that gets old, so time for some automation.

The first photo I uploaded directly from my iPhone 3G, showing part of the script
Actually resizing images is easy enough in PHP using the imagecopyresampled() function. However, using the provided example script the result was that a photo that I took with my iPhone showed up rotated.
The reason for that is that phone cameras store the camera's rotation in the EXIF data, and the PHP image manipulation functions strip away the EXIF data. One way to solve this is to read the EXIF data using exif_read_data() and then rotate the image accordingly using the imagerotate() function as explained here. However, that still leaves an image with no EXIF data.
A better way to do that is by copying all the EXIF data from the original image to the resized image. This requires a bit of work, but there is a good example transferIptcExif2File() function in the user contributed notes for the PHP iptcembed() function.
Searching for this using Google didn't give me any results, so hopefully the above will be helpful to others running into the same problem. And as you can see, it works:
Permalink - posted 2021-11-28
►
The way the Amiga handles icons changed a number of times over the history of the platform, with the result that many older icons don't look right on Amigas running later versions of the OS. I made a tool to convert these old icons so they look like they should on later Amigas: Iconverter.
Full article / permalink - posted 2021-07-14
▼
The way the Amiga handles icons changed a number of times over the history of the platform, with the result that many older icons don't look right on Amigas running later versions of the OS. I made a tool to convert these old icons so they look like they should on later Amigas: Iconverter.
Iconverter is a tool for converting old icons so they look as intended
on Amigas running a more recent operating system.
In particular Iconverter will convert OS 1.x and MagicWB icons to
NewIcons format using the palette those icons were created for. (Also
OS 2.0 - 3.1 icons, but those usually look correct without
conversion.)
Note that you need to run the NewIcons extension or the new IconLib_46
on an AmigaOS 3.0 or 3.1 system in order to see the converted version
of icons created by Iconverter. AmigaOS 3.1.4 and 3.2 will show them
"out of the box".
Iconverter is a shell / command line tool written in standard C. As
such, it should compile and run on any system that has a C compiler.
Permalink - posted 2021-07-14
This web tool lets you click on a list of accents to add those accents to text you've typed or pasted in a text box. Or remove accents with a click. So no need to remember those pesky alt codes or unintuitive key combinations!
Permalink - posted 2021-05-14
►
The other day I noticed how dirty my VT420 terminal's keyboard was, so I decided to take off the keycaps to clean them.
Then of course it's always good to put the keycaps back where they belong. That's a task made a lot easier with a keyboard tester app such as the online one I made a while ago. However, I don't think the VT420 supports the latest Javascript features...
So I whipped up a command line keyboard tester: kbdtest.php. Save the page, rename to kbdtest.php, then run with ./kbdtest.php. Works on the Mac, haven't tested other systems.
Full article / permalink - posted 2021-03-16
▼
The other day I noticed how dirty my VT420 terminal's keyboard was, so I decided to take off the keycaps to clean them.
Then of course it's always good to put the keycaps back where they belong. That's a task made a lot easier with a keyboard tester app such as the online one I made a while ago. However, I don't think the VT420 supports the latest Javascript features...
So I whipped up a command line keyboard tester: kbdtest.php. Save the page, rename to kbdtest.php, then run with "php kbdtest.php". Works on the Mac, haven't tested other systems.
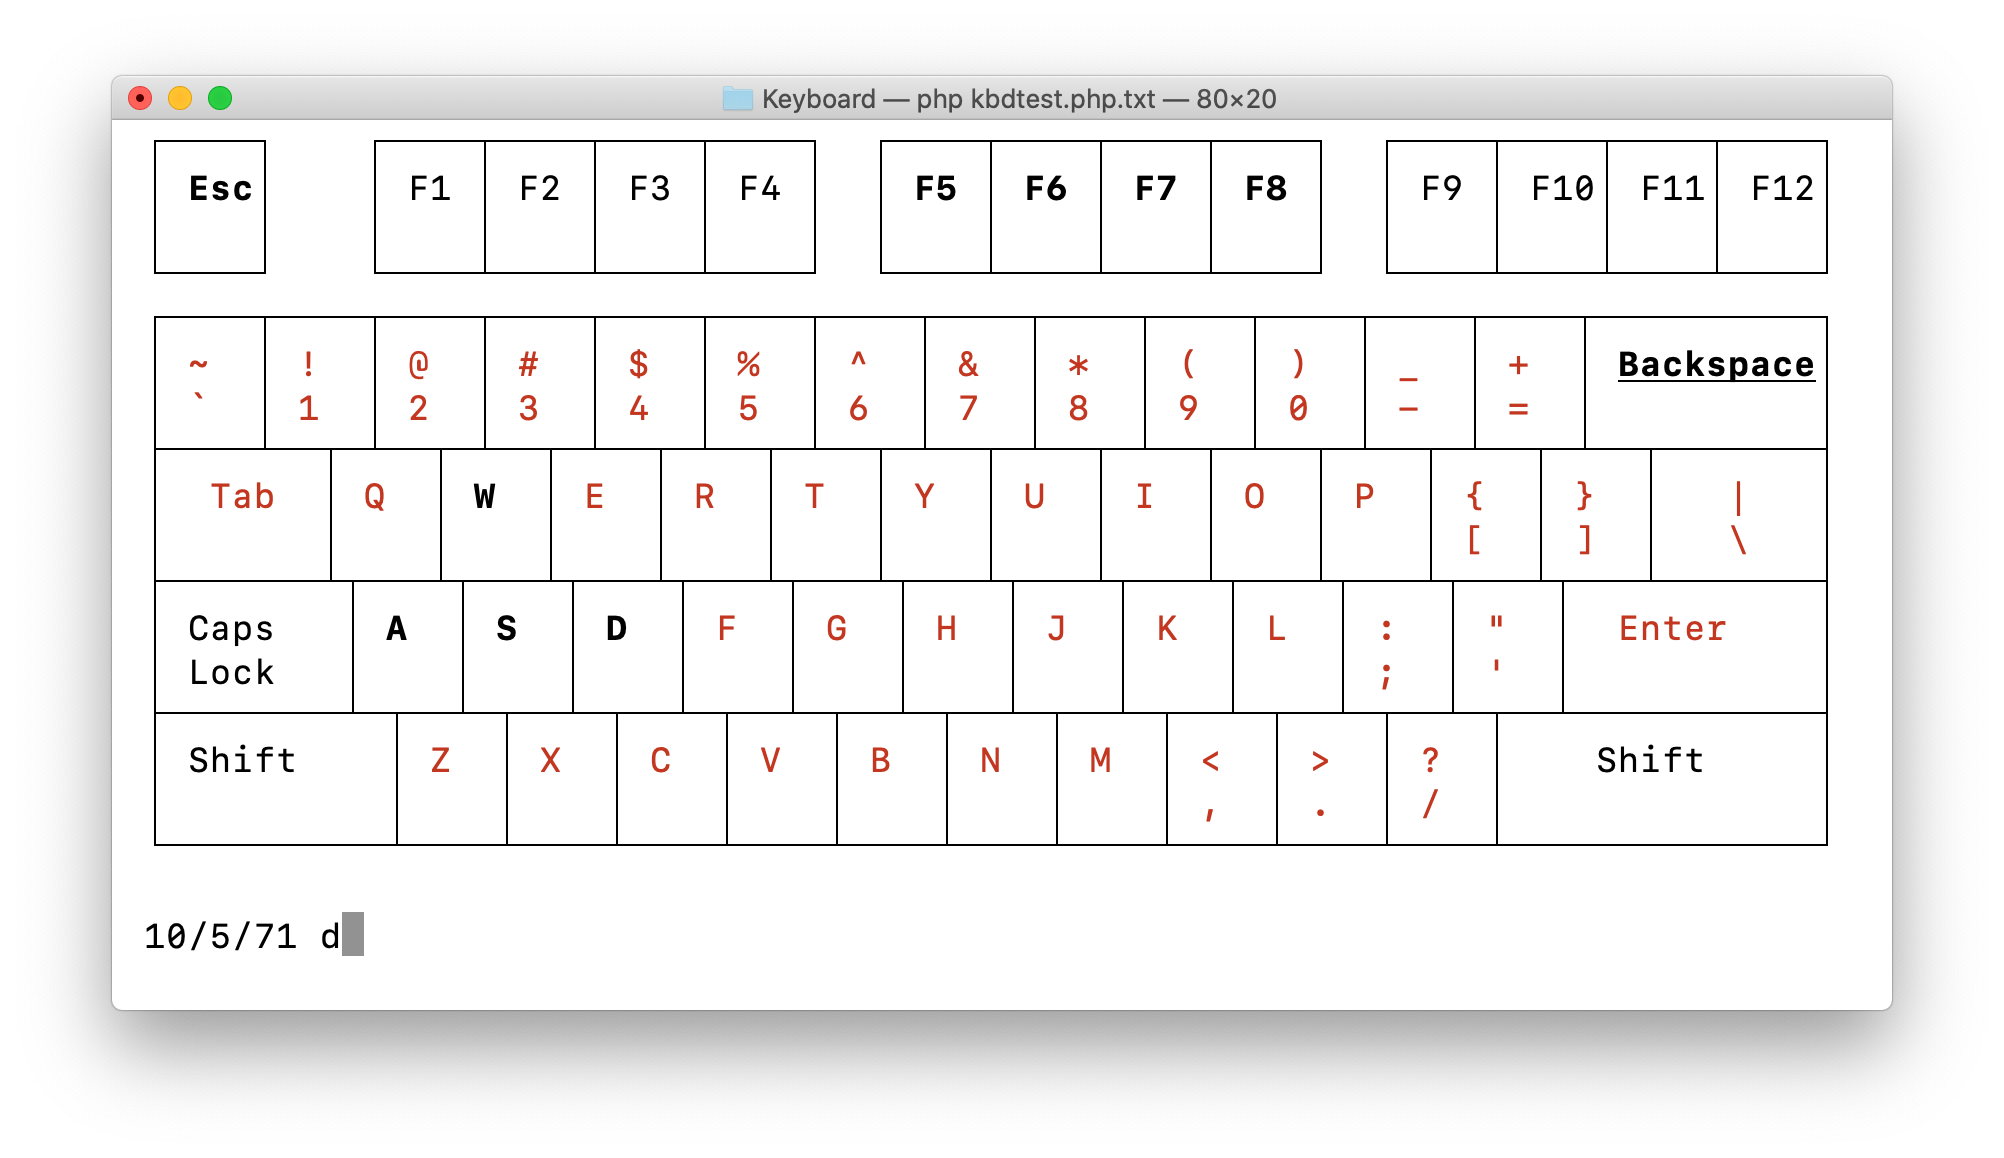
The script draws an image of the main part of a keyboard, with the keys that should work displayed in red. Then as you type them, they're made the default color and bright or bold. Typing the same key multiple times adds and removes an underline. The first number is a count of how many different keys you've typed, the second one only counts printable characters and tab, backspace and enter. (Upper vs lower case is ignored.) When you've typed all 71 of those, the program ends. You can of course also use control C. When there's 8 characters left, the remaining ones start to blink.
Note the box drawing characters. These are actually produced by issuing an ANSI escape code to switch to the DEC special graphics character set. In that mode, the lower case characters become line/box drawing characters. Turns out: this also works in the Terminal on the Mac!
I couldn't find a workable way to get the actual keyboard scan codes or something similar on the command line, so I can't do anything with keymaps, like the web keyboard tester does. However, turns out you can still read special keys such as the function keys and arrow keys. These produce ANSI escape codes. And again, that works in the Terminal exactly like it does on the VT420 terminal.
Permalink - posted 2021-03-16
Simply type all the keys and shift, alt, alt+shift combinations and then you can print out an overview of your keymap for easy reference. (Or make a PDF, or take a screenshot, of course.)
Works best in Safari on the Mac, but most keys will be detected correctly with other browsers / operating systems, too.
(This is Apple's "ABC - Extended" layout, formerly known as "US Extended".)
Permalink - posted 2021-01-29
►
I have a new mechanical keyboard on order, which lets you hot swap the keyboard switches. When you do that, it's a good idea to do a quick test to see if all the keys still work. There are many tools to do this, but I decided to make my own web-based one. I think it came out pretty nicely.
Full article / permalink - posted 2020-12-24
▼
I have a new mechanical keyboard on order, which lets you hot swap the keyboard switches. When you do that, it's a good idea to do a quick test to see if all the keys still work. There are many tools to do this, but I decided to make my own web-based one. I think it came out pretty nicely.
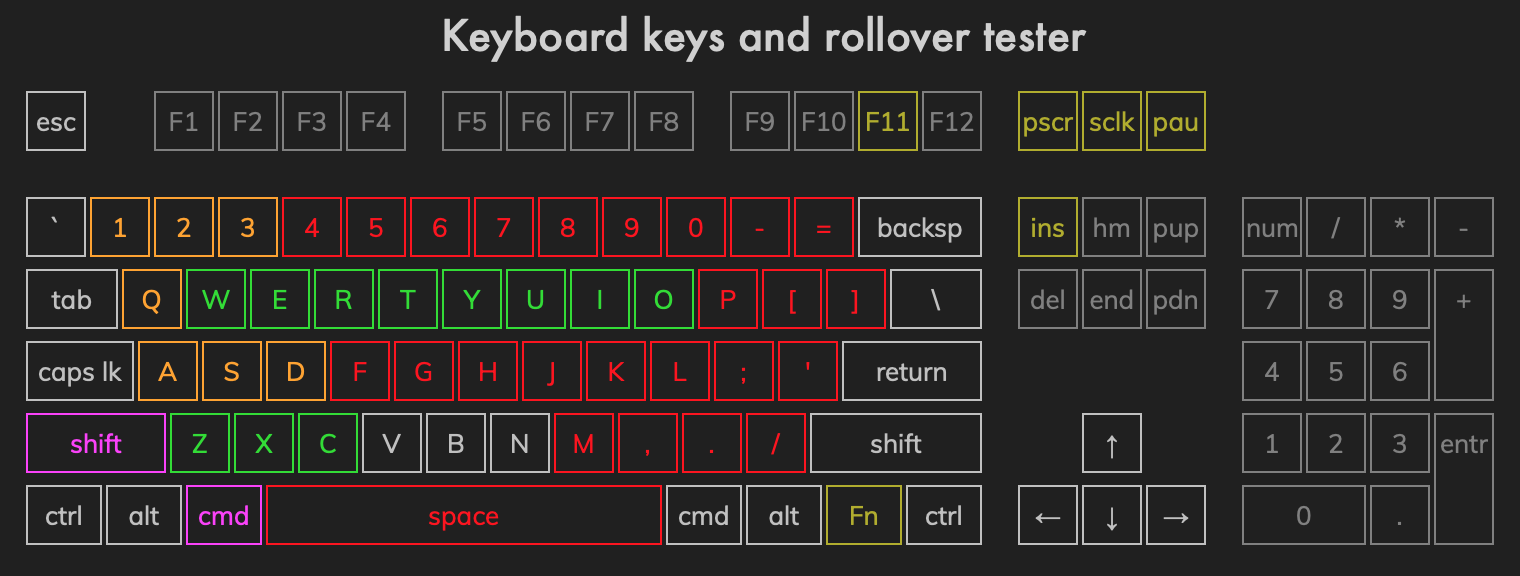
You can see if the keys work by typing them one at a time, or (usually) by running your finger along each row.
In addition to that, you can also see how much key rollover your keyboard supports, i.e., how many keys you can type at the same time. Higher end keyboards usually support "n-key rollover" (NKRO), which means that any combination of keys will be recognized correctly. This is useful for some types of games.
Old keyboards usually don't support any additional rollover, so they can only correctly recognize arbitrary combinations of two keys. (This limitation doesn't apply to shift/control/alt or command/windows.) Additional keys may or may not be recognized. However, it doesn't really matter too much if you can't type Z F6 . For non-gamers, what matters is that when you type quickly, it can happen that one finger hasn't released the previous key yet while another finger is already pressing the next key. Turns out that on many keyboards that don't support real 3-key rollover, you can still type three (or more) keys at the same time, as long as those keys are all on different columns. Which means: you type them with different fingers. After all, how are you going to type E, D and C at the same time, as touch typists type all three of those with their left middle finger?
A common additional limitation (to avoid more complex USB communication) is a 6KRO limitation.
What the rollover tests (for 3 - 7 KRO) do is test combinations of all the regular alphanumeric keys and most punctuation and then tell you if it looks like you have full key rollover, enough for touch typing or no real rollover for that number of keys. You can of course also just press as many keys as you like at the same time and see if they register.
So have a look and let me know what you think.
Permalink - posted 2020-12-24
older posts
- newer posts


